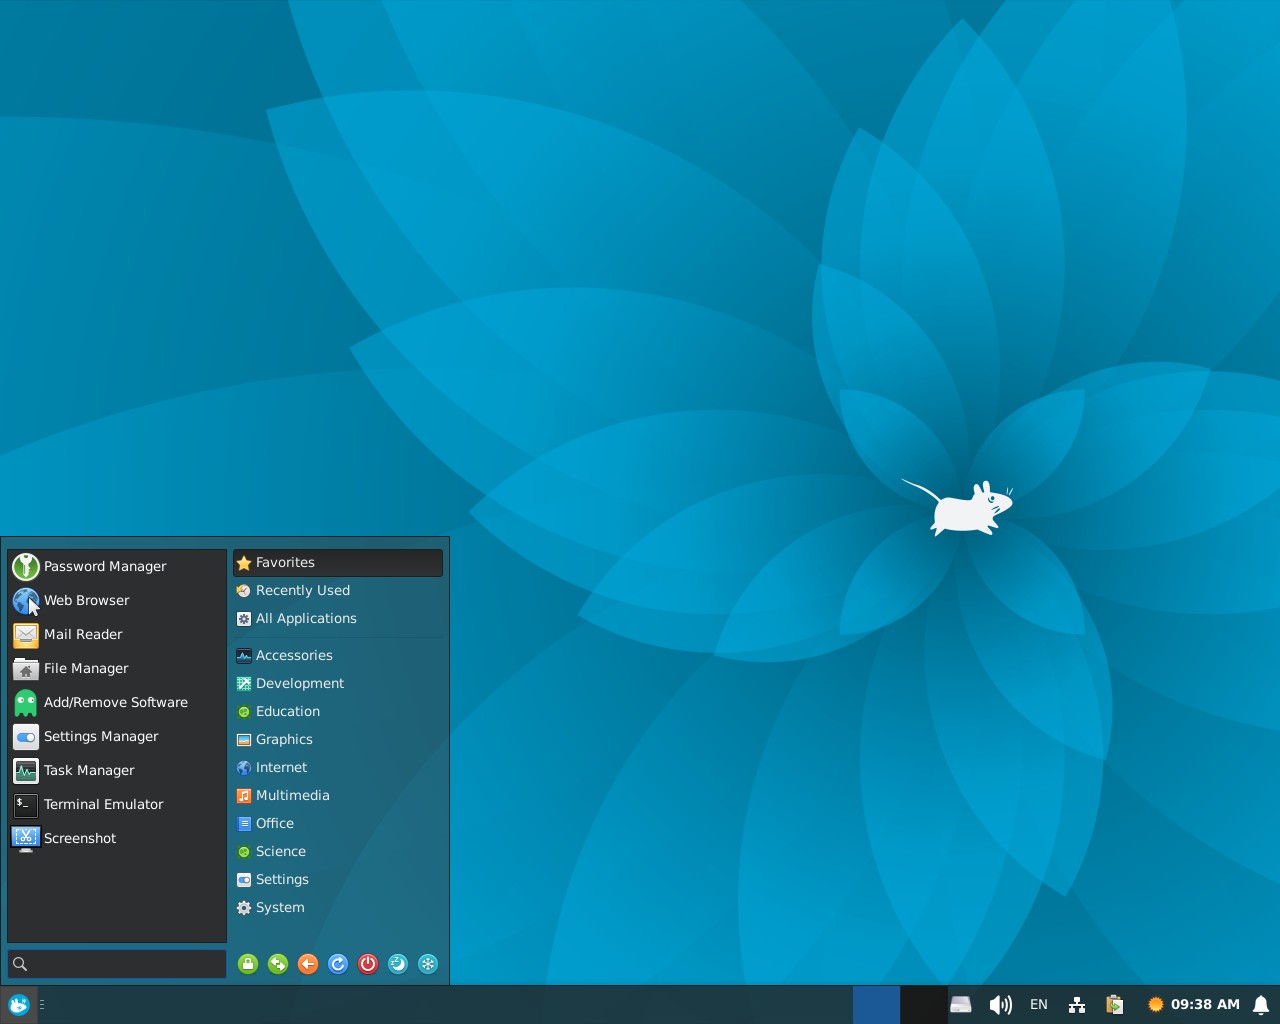
NetOS [Portable▪️Secure▪️Fast] is an open-source server/desktop lightweight x64 operating system based on FreeBSD latest stable version with Xfce interface and GUI package manager under 2-clause BSD license.
🛡️ TOR Network SOCKS5 Protocol Configured with PRIVOXY and I2P Anonymous Network Browser Add-on +LibreOffice
🔍 Onionized with DuckDuckGo Private Search Engine +PASS/OTP Manager
🔒 All FreeBSD Security Hardening Features are Enabled by Default
-
OS Clock: OpenNTPD
-
NetworkMgr: Graphical Network Connection Manager
-
Software Center: OctoPkg [pkgng-gui]
📥 DOWNLOAD v14.1-RELEASE-p6 [Dec.01.2024] hosted on high performance Pars Enterprise Servers
💽 Size ~3.7GB with max-compression, 60GB min-storage required.
📝 Checksum|SHA256: 77e13621d75812780e2f1e80aeffefcdf31d493ea77205ed2e23bf64b0084dc1

Installation:
Windows users can setup via DiskImager or win32disk (Image needs to be extracted with 7-Zip before writing to device)
💻 To write an IMG file to a USB/SSD/HDD drive using the dd command in Unix-like platforms, follow these steps:
⚡ Quick Setup [EXPERTS]: xz -d -c /path/to/os.img.xz | sudo dd of=/dev/sdX bs=1G status=progress
💿 Normal Installation including descriptions:
1. Identify Your USB Device Before proceeding, you need to identify the correct device path for your USB drive. You can do this by running:
Terminal > lsblk or blkid or gpart
This command will display all the block devices attached to your system. Your USB device is typically something like /dev/sdb, /dev/sdc, etc. Make sure you correctly identify the USB device to avoid overwriting other data.
2. Unmount the USB Drive If the USB drive is mounted, unmount it before proceeding with writing the image. You can unmount it with the following command:
Terminal > xz -d os.img.xz or tar -xf os.img.xz
Terminal > sudo umount /dev/sdX*
Replace /dev/sdX with the actual device name of your USB stick (e.g., /dev/sdb).
3. Use dd to Write the .img to the USB Now, use the dd command to write the .img file to the USB drive. The syntax is:
Terminal > sudo dd if=/path/to/your-image.img of=/dev/sdX bs=1G status=progress oflag=sync
✅ Explanation of the options:
-
if=/path/to/your-image.img: The path to your .img file.
-
of=/dev/sdX: The device name of your USB drive (e.g., /dev/sdb).
-
bs=1G: This sets the block size to 1GB for more efficient writing.
-
status=progress: Displays the progress of the operation.
-
oflag=sync: Ensures that data is written synchronously, preventing data loss in case of an unexpected shutdown or disconnection.
4. Wait for the Process to Complete The dd command will take some time to write the image to your USB device. It might take several minutes, depending on the size of the .img file and the speed of your USB drive.
Once it’s finished, you will see a summary of the transfer, including the amount of data written, transfer speed, and the time taken.
5. Safely Eject the USB Drive Once dd completes, safely eject the USB drive to ensure all data is properly written to the device:
Terminal > sudo eject /dev/sdX
Replace /dev/sdX with your USB device name (e.g., /dev/sdb).
🔑 Now, your USB drive should be ready to boot or use, [username: pars | password: NetOS.run]
🔝 Your storage device needs to be set on primary slot on the system that operating system is going to be launched.
⚠️ Important Notes:
-
Backup your entire data before installation. Backup/Restore Unix-like operating systems
-
Be very careful with the device path (/dev/sdX). If you choose the wrong device, you can accidentally overwrite important data on another drive.
-
Double-check the .img file and the target USB device path before running the dd command to avoid mistakes.
-
The dd command doesn't provide an easy way to cancel or pause the operation, so make sure everything is correct before starting.
-
Intel GPU driver is pre-set, for AMD/Radeon driver replace i915kms.ko with amdgpu.ko or radeonkms.ko in etc/rc.conf
-
Nvidia FreeBSD official drivers are available to download.
🧰 FreeBSD Native Commands:
-
sudo freebsd-update fetch [Based on the currently installed world and the configuration options set, fetch all available binary updates.]
-
sudo freebsd-update install [Install the most recently fetched updates or upgrade. Returns exit code 2 if there are no updates to install and the fetch command wasn't passed as an earlier argument in the same invo-cation.]
-
sudo freebsd-version -k [Print the version and patch level of the installed kernel. Unlike uname, if a new kernel has been installed but the system has not yet rebooted, freebsd-version will print the version and patch level of the new kernel.]
-
sudo freebsd-version -u [Print the version and patch level of the installed userland. These are hardcoded into freebsd-version during the build.]
📖 Learn more about operating system hardening & customization
END-USER LICENSE AGREEMENT
An end-user license agreement or EULA is a legal contract between a software supplier and a customer or end-user, generally made available to the customer via a retailer acting as an intermediary. An EULA specifies in detail the rights and restrictions which apply to the use of the software.

